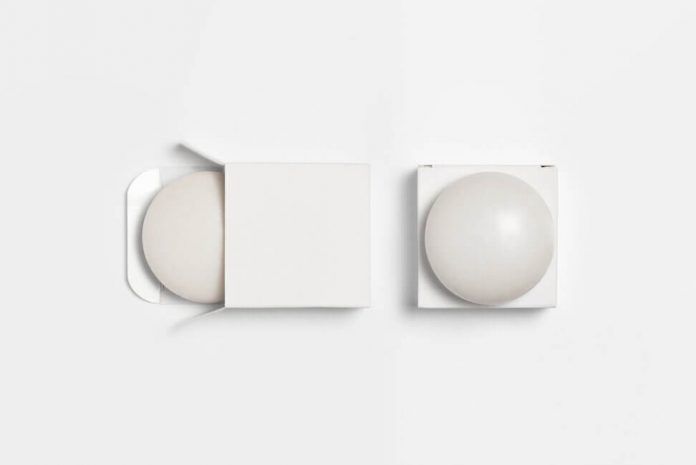
You have the perfect recipe to make your soap, but what if it does not have a professional look and feel? We all know that people have many choices when buying Soap Boxes. They stick to those which have an eye-catching appearance along with perfect quality.
It is vital to be specific in making your soaps if you want to stand out professionally in the market. Whether you are making laundry soaps, beauty soaps, or medicated herbal soaps, they need to be on point to get customers’ attention. From making method to cutting soap bars, it should be perfect. Moreover, from finishing touches of the soap bars to premium touches on the packaging of soap boxes they must dazzle to stand out on the retail shelf.
Famous Soap Making Methods
Let’s discuss some popular soap-making methods that you can choose to proceed with professionally and qualitatively.
Melt and Pour Method
This method does not need to start from zero. First, you require pre-made soap bases. Then, melt them and pour them into your molds to get the bar of soap needed shape. This method is relatively easy as you do not need to consider the perfect proportion of lye at all.
Cold Process Method
This method requires starting from scratch working with lye. The soaps made from the cold process are saponified at room temperature. This process is lengthy and takes three to six weeks to cure the soaps. Moreover, the soap made from this process is eco-friendly and healthier for the skin.
Hot Process Method
This method also makes soaps from the beginning by using lye. However, unlike the cold process, this method takes an external heat source to make soap gel and then poured into the molds. Moreover, it is faster than the cold process. It usually takes thirty to sixty minutes to cure hot process soap. In addition, rustic-style long-lasting soap bars. Soap bars made from the hot process can be used immediately after they harden up.
Re-Batching
Re-batching involves remaking your bad-batch from the pre-made finished soaps. This method is work-intensive and time-consuming and usually makes less attractive soaps.
Points to Consider While Cutting the Soap
Sitting Time for Soap Before Cutting
After saponification, the soap loaf usually takes a week or twice to cure and get hardened. But you can cut the soaps into bars after 24 – 48 hours while they are still soft. Because once they get set then, it will be more difficult for you to cut them nicely in your desired shape and design.
Cut the Soap Without Crumbling It
It is crucial to cut the soap professionally without crumbling it. To give a professional look, you must use the perfect sharp blade to cut the soaps using heat application. Therefore, you must warm or heat your blade while cutting the soaps. Or, you can either warm up the soap in the microwave to cut it with a sharp knife. However, heating will melt the soap a little, making it easy to miss.
Size of the Soap Bar
There is no hard and fast rule to cut the soap bar in a specific size. Usually, a thickness of ¾ to 1 ¼ inch is considered while cutting them. Remember that the more the thickness of your soap bar, the longer it will take time to cure and evaporate water. So, the decision is entirely up to you on how much thickness you want for your soap.
Avoid Early Cutting
Avoid cutting too early because it will lead to dents and drag marks on your soap bars which will destroy the pleasant look and feel of the soaps. Always use gloves to check the softness of the soaps.
Tips for Dazzling Your Soaps Professionally
Whether you are selling herbal and beauty soaps for cosmetic boxes or giving them as a gift in spa baskets or bridal showers, they must be perfect in their look and feel. Following are some tips to put X-factor to your soap boxes to get a polished and premium look.
Steam Your Soap
A thin white layer of soda ash is built on the soap during the saponification. This layer does not harm the skin, making the soap dull and aesthetically unpresentable. The soaps are passed through the steam to avoid this issue, especially if the white layer is deep within the soap bar. The steaming process is very easy. Moreover, you can steam either before or after cutting the soap bars. When you steam the soaps, it softens them a little. That is why, after steaming, allow them to rest until it gets hardened again.
Wash Your Soap
Another way to wipe away the soda ash layer is by washing it with water. When the steamer is unavailable, you can take a damp or moist nylon cloth and wipe off the layer. The choice between steaming and washing depends upon the soaps’ shape, design, and texture.
Beveling Your Soap
The soap bar is slid across the blade in the center of the beveller that shaves the edges’ corners. Hence smooth and flat edges are made to give them a spick and span look. The beveling of the soap is done after the soap bars are cut and cured. Therefore, the soaps should not be super hard or soft before running them through beveller, because they will produce unsmooth edges.
Use of Unique Expression and Labeling Soap Boxes
Packaging is the first key to putting a lasting impression on customers’ minds. Customers prefer those soap boxes most of which are styled with unique and latest expressions. Creative graphics and expressions like gold stamping, foiling, and shrink wrap can clarify these packages among other soap brands. These unique expressions are used in Customized mailer boxes containing natural soaps to give as gifts for bridal showers and spa gift baskets.
OBT Packaging is one of the leading packaging solutions that provide eye-catching and beautiful soap boxes in a budgeted and premium quality.


