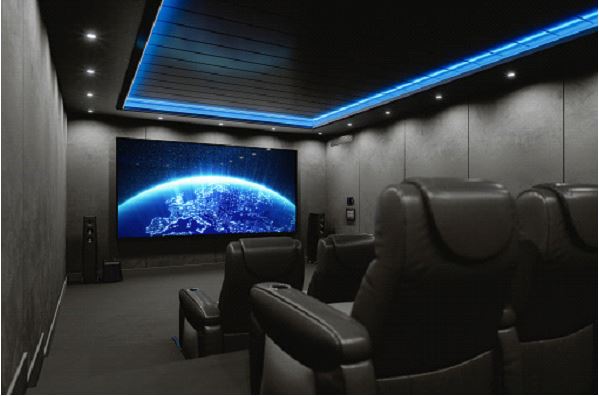
If you’ve been put off by all the inputs on the back of a surround receiver and have concluded that regular TV sound is actually enough, head on! At Techlobsters we have written a manual that explains step by step how you can get your own home cinema working.
Got a Home Cinema
Congratulations – you’ve bought a new home theater receiver coupled with a home theatre power manager! Take everything out of the box and lay it out neatly so you can grab it when you need it. That works a lot easier.
Select a Suitable Location
Place the receiver and any other devices where you want them. Make sure there is enough air around the receiver for cooling. Some receivers can get quite warm if left on for a long time. It is therefore a good idea to give the receiver enough room to ‘breathe’.
Speaker Management
Attach any hanging systems to the wall. Place all speakers and subwoofers at the correct distance from your screen and your favorite listening position.
Connecting All the Things
First, connect the receiver to your TV with an HDMI cable. Then a guide/installation menu helps you with the settings of the speakers, room correction, network, and connections. Then follow the steps below.
Connect your sources, for example, a PlayStation, Xbox, or Apple TV, to your surround receiver with an HDMI cable.
As for your speakers: you can connect the speaker cables to the receiver in two ways. You can ‘strip’ (expose) the cable a bit, i.e. you remove some insulation and connect the speaker cable directly to the screw terminal, or you use banana plugs. Banana plugs are very handy, and you can be sure that the contact between the cable and the terminal is optimal – we usually recommend banana plugs.
The subwoofer is connected to the subwoofer output of the receiver with a special subwoofer cable. Above the subwoofer output is ‘SW’ or ‘SUB’. Then you plug the receiver and subwoofer into the socket.
Frequency Settings
If your receiver has auto-setup (and it usually does), then connect the supplied measuring microphone to the intended input and follow the auto-setup of the receiver. One of the clever things about auto-setup is that the volume and frequencies of all speakers are adjusted individually so that you can really get the most out of your system.
Sound Verification
Now everything is ready and the system sounds the way it thinks it should sound. But that doesn’t necessarily mean it sounds good to you. So sit back, turn on a movie or concert and listen carefully – what are you missing, what are you hearing too much? For example, room correction often uses less bass. So if you hear too little bass, you just have to turn the subwoofer up a bit.
If your receiver supports this function, you can also use room correction. With room correction, the speakers are precisely adjusted to the room, so that they sound optimal there. For most room correction systems, you need to perform five or six tests, with which the receiver recognizes the different listening positions. But there are also receivers without room for correction.
Presets Management
You can save the settings (presets), so that you don’t have to set everything up again if your stubborn nephew suddenly presses all the buttons on the receiver at the same time.
Closure
And that was it. It went well, didn’t it? Prepare a bowl of popcorn, get the whole family together and enjoy your own home cinema system!


